All eyes are on Mom this selling season. With a little flexibility and items you already have in your shop, build her a custom piece in very little time.
Pieces Used
A. JR25 Round Jump Rings, .65mm, Sterling Silver. B. CZ-LAB Round SWAROVSKI GEMS™ Pink Cubic Zirconia, 2.5mm
C. CZ-LAB Round SWAROVSKI GEMS™ White Cubic Zirconia, 2.5mm. D. TOPAZ-GEN Round Swiss Blue Topaz, 2.5mm. E. 511 Round Bezel Setting with Bearing, 2.5mm, 14kt rose. F. CH176 Cable Chain, 16″, Sterling Silver. G. SIZING STOCK Square, 1.5mmx1.5mm, 14kt rose. H. SIZING STOCK Flat, 2.5mmx1.5mm, Sterlium-Plus™.
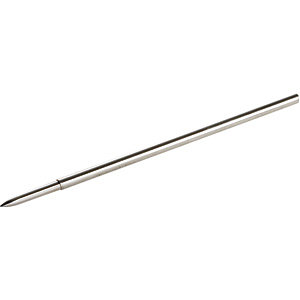
1. Decide what length you would like the bar pendant to be. You’ll start with two pieces of sterling silver bar stock and one piece of 14kt rose bar stock. Measure and cut each piece approximately 10% longer than you want the finished piece. This allows room for error.
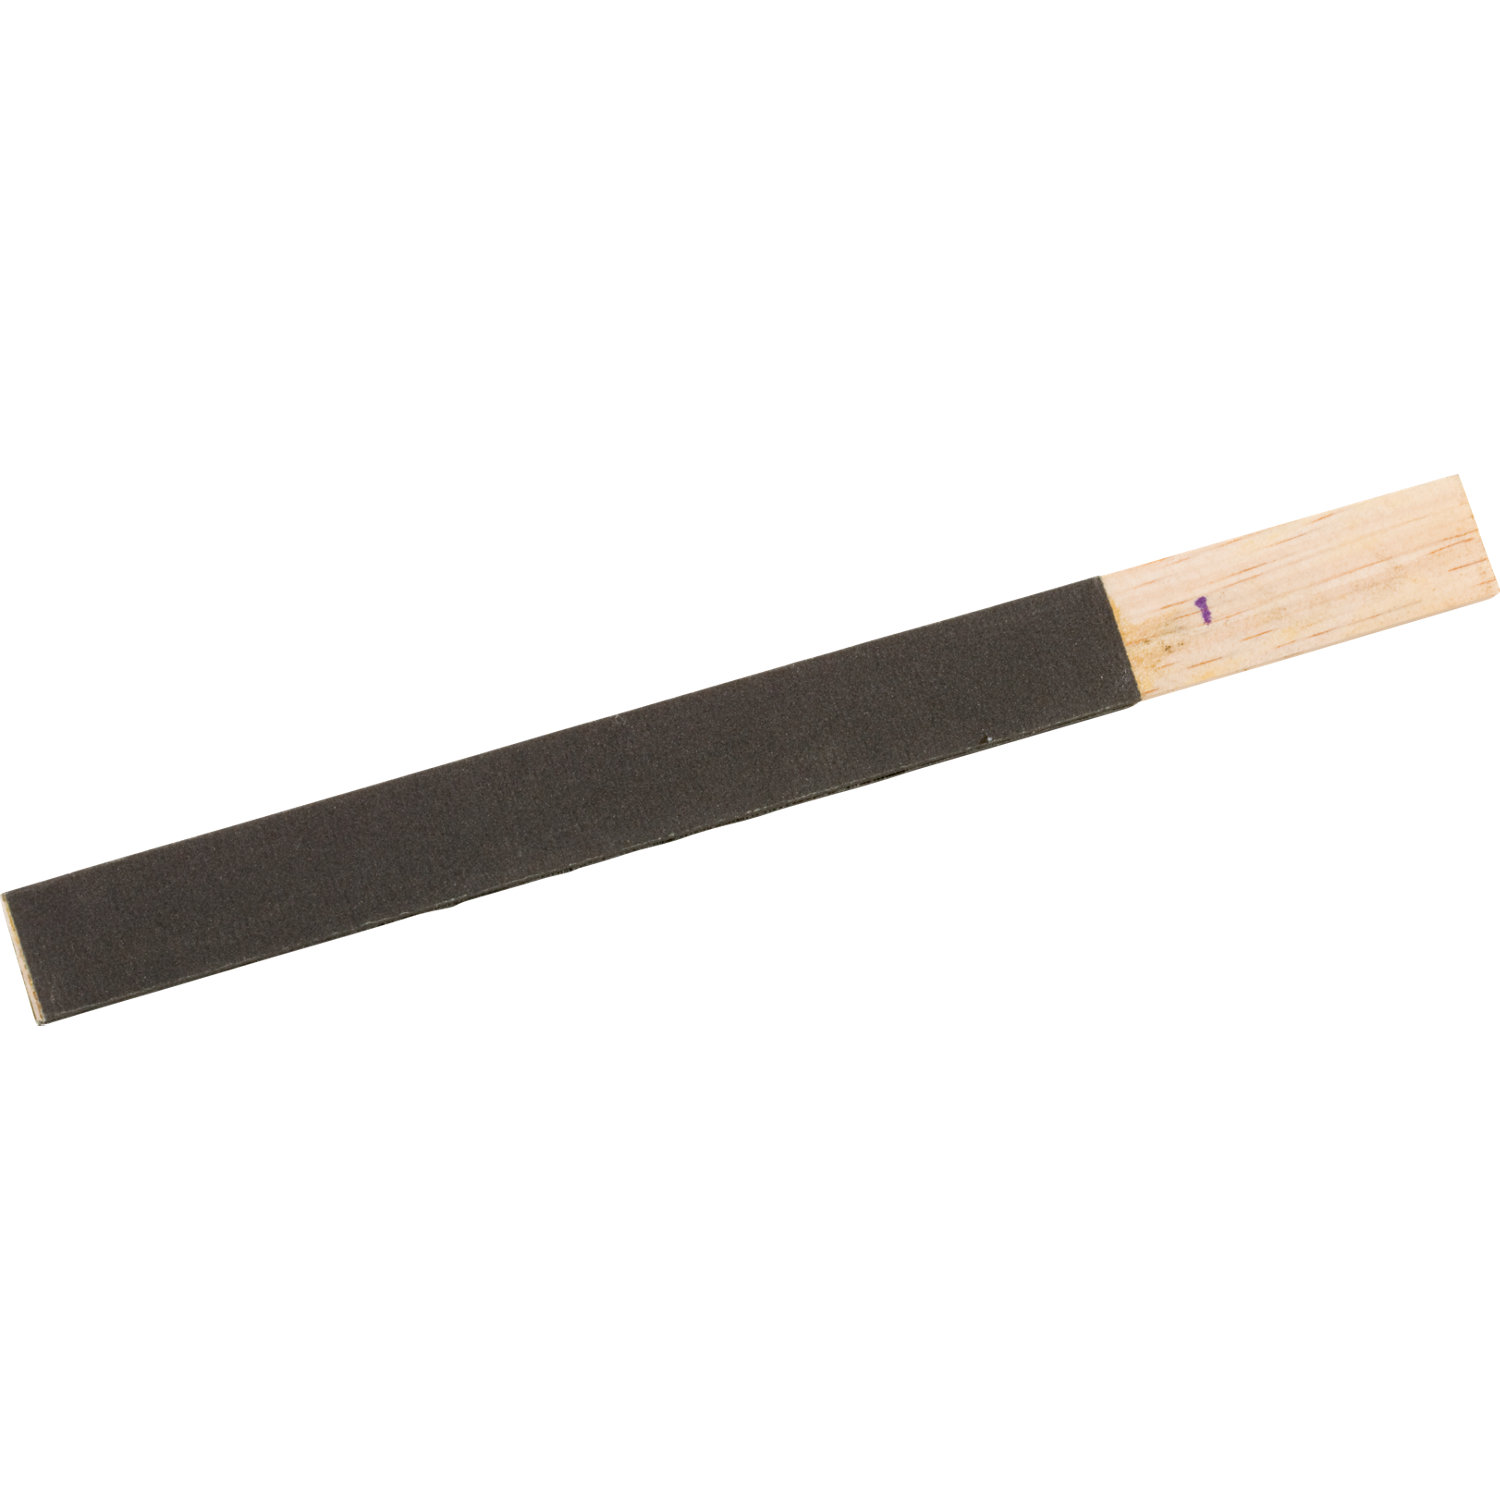
2. Clean and straighten the bar stock. Using sandpaper taped to a piece of glass, sand all sides of the bar stock flat and flush to ensure a perfect fit during soldering
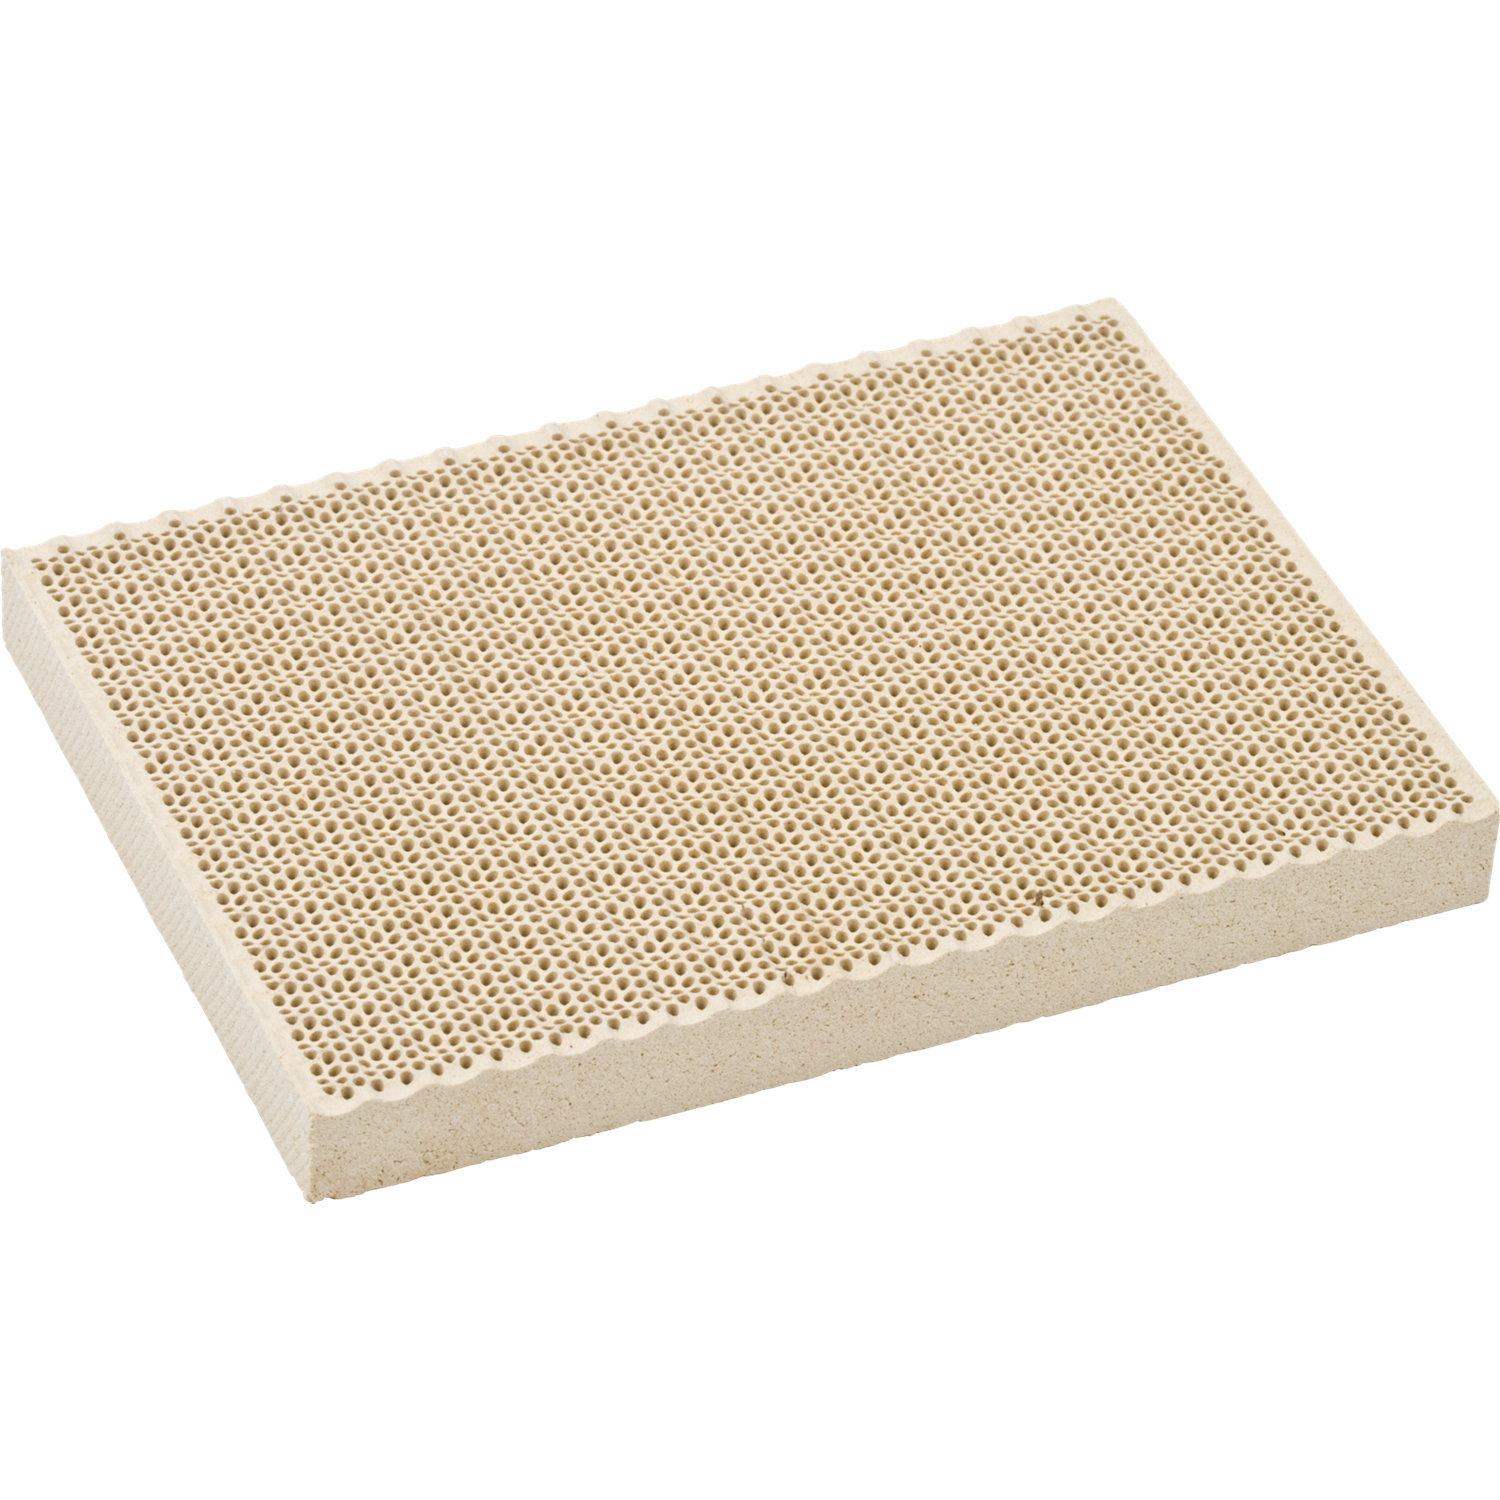
3. Arrange the pieces on a soldering block in the order that you want them. With as little space between them as possible, apply the solder where necessary. Heat and flow the solder, ensuring that it is drawn into the seams. Start heating the opposite side of the piece to draw the solder down through the seams to completely fill them. Use your sandpaper to remove any excess solder.
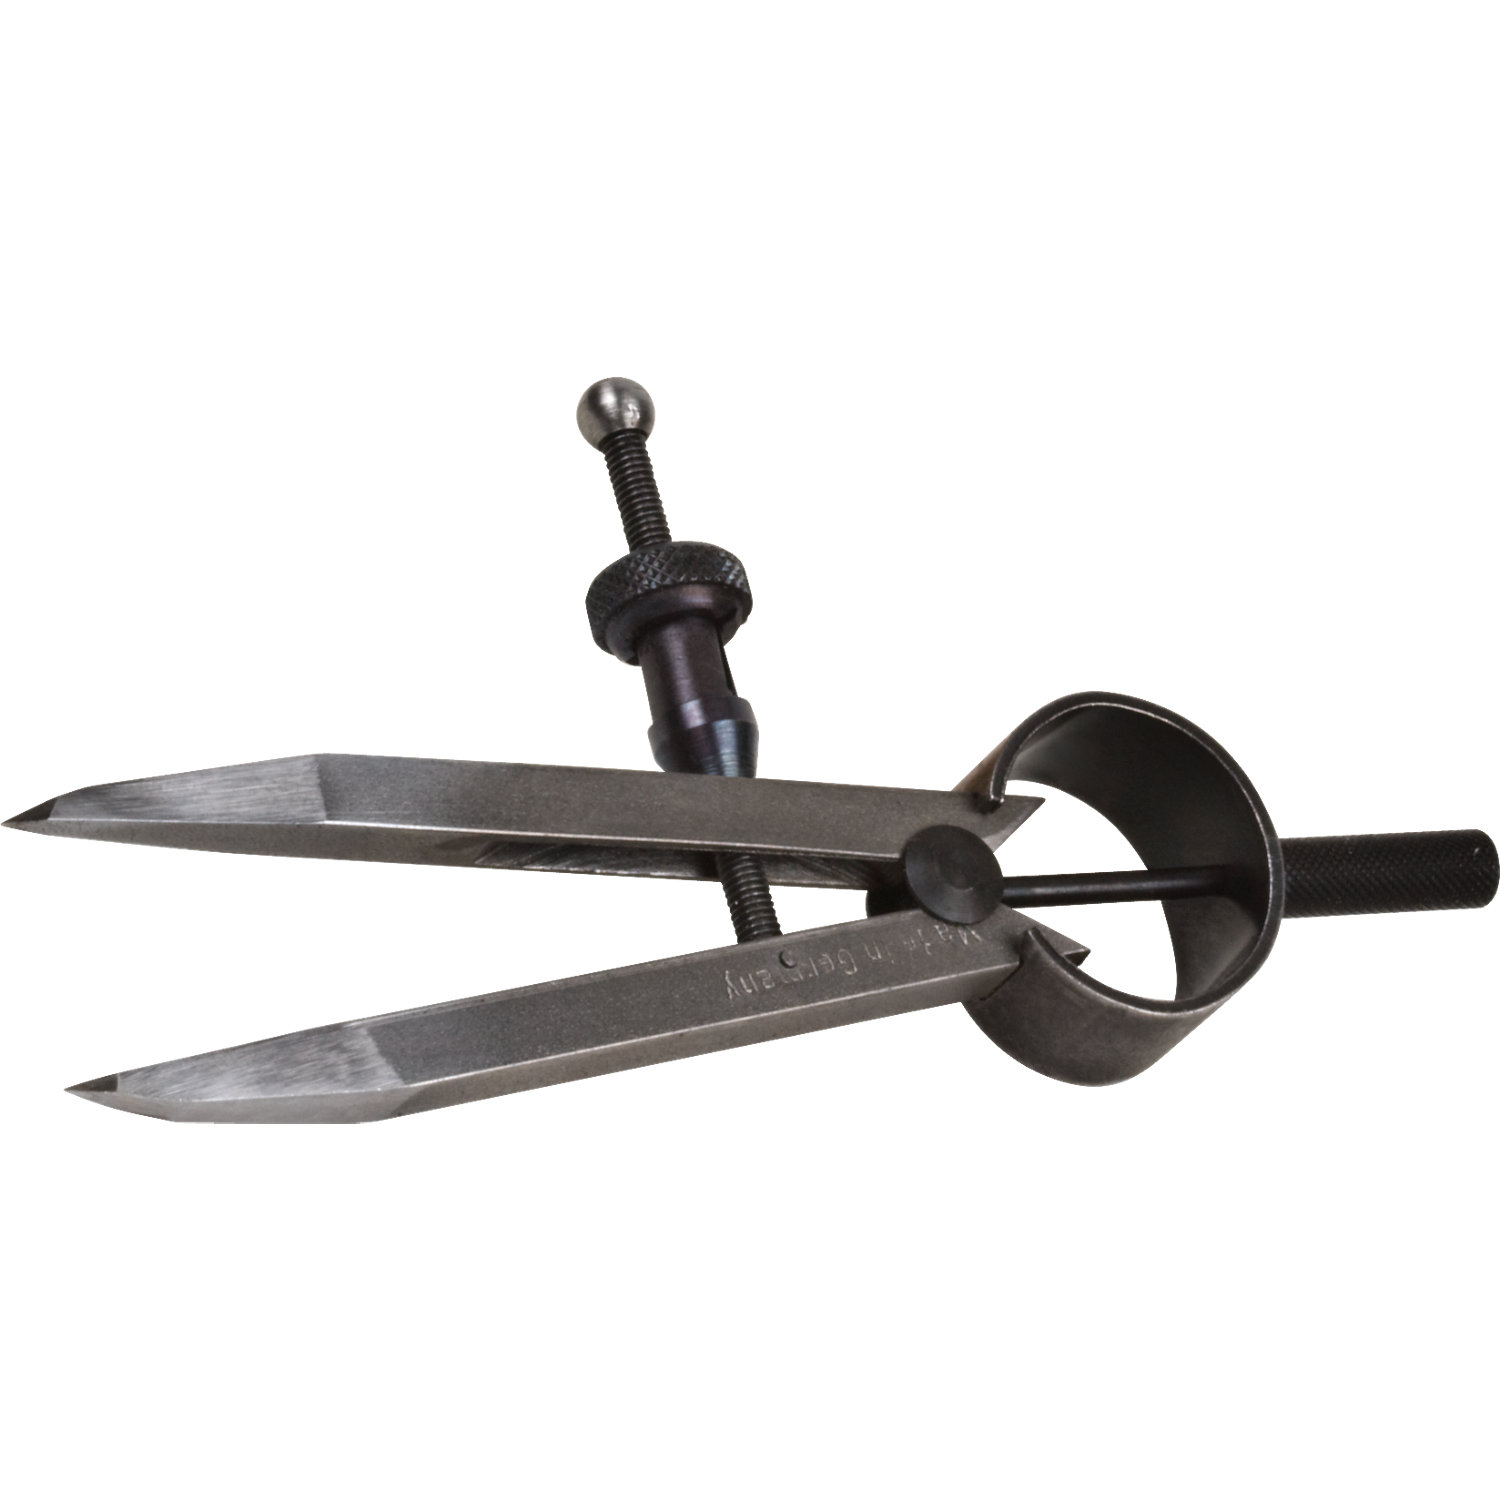
4. Using a spring divider, mark the exact middle of the bar. Then, mark an equal distance on either side where to place the side bezels. Create a divot or drill a tiny pilot hole in the exact middle of each mark. Premeasure the diameter of your bezels and drill the hole to those specifications, paying close attention to the bezel height. Set the bezels into the bar to test fit them.
5. Solder the bezels into place. Clean up any excess solder around the bezels. Solder jump rings on either side of the bar, and connect them to the chain. Give the piece a good polish.
6. Use a burnisher to form the bezels over the stones and give them a bright polish. Give the piece a final polish
I returned to Stuller in 2013 (started in 1989 and left in 2005) • I am a master setter 3 and transitioning to a training specialist at this time • Proud and fortunate to be born and raised in the Cajun culture • I am blessed beyond reason • I can recite every line from “The Waterboy” • If you think a piece of jewelry can’t be fixed, give it to me • I believe everyone is capable of more than they realize • I am not a fan of green vegetables • Cannot round out a ring without my tongue hanging out.